Very often I make a quilt that requires a section of foundation that is larger than I can print one sheet of paper. I could just redo the pattern and break it into smaller pieces, but I’ve found that the fewer times I have to sew seams joining pieces the better. It’s always easier to make the biggest sections possible to start with. Many of my quilts and patterns already have enough pieces to worry about! This is how I handle those not big enough yet pieces.
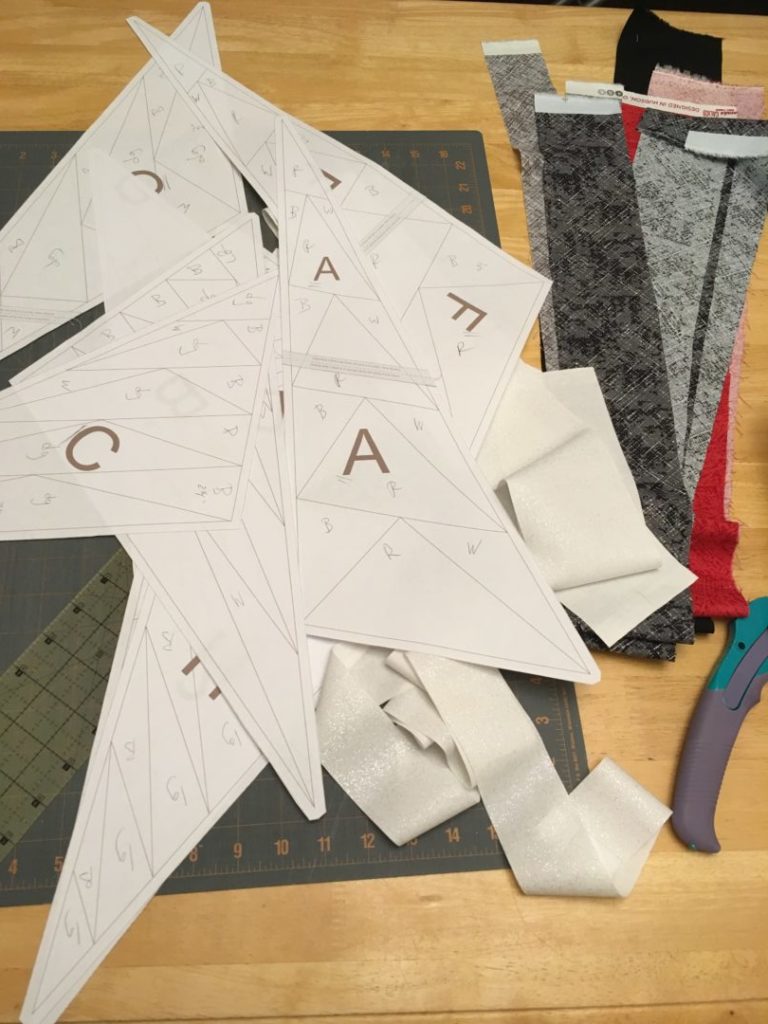
Here is a sneak peak at my latest quilt I’m working on. The pieces labeled A and F below are both too large to fit on one sheet of my 14×17 inch paper. (Yes, my pile of papers is always at least this messy!)

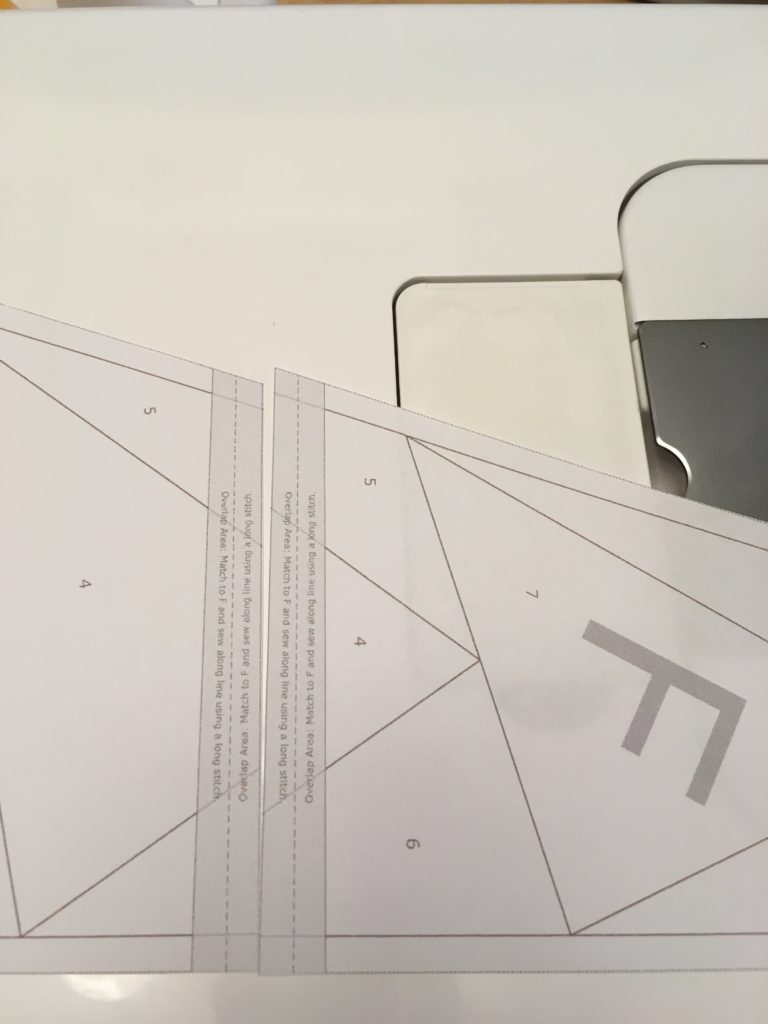
First step is cutting out my two separate pieces. For my patterns the shaded gray area is an overlap area. (If you’re making your own pattern, leave yourself plenty of overlap area.)

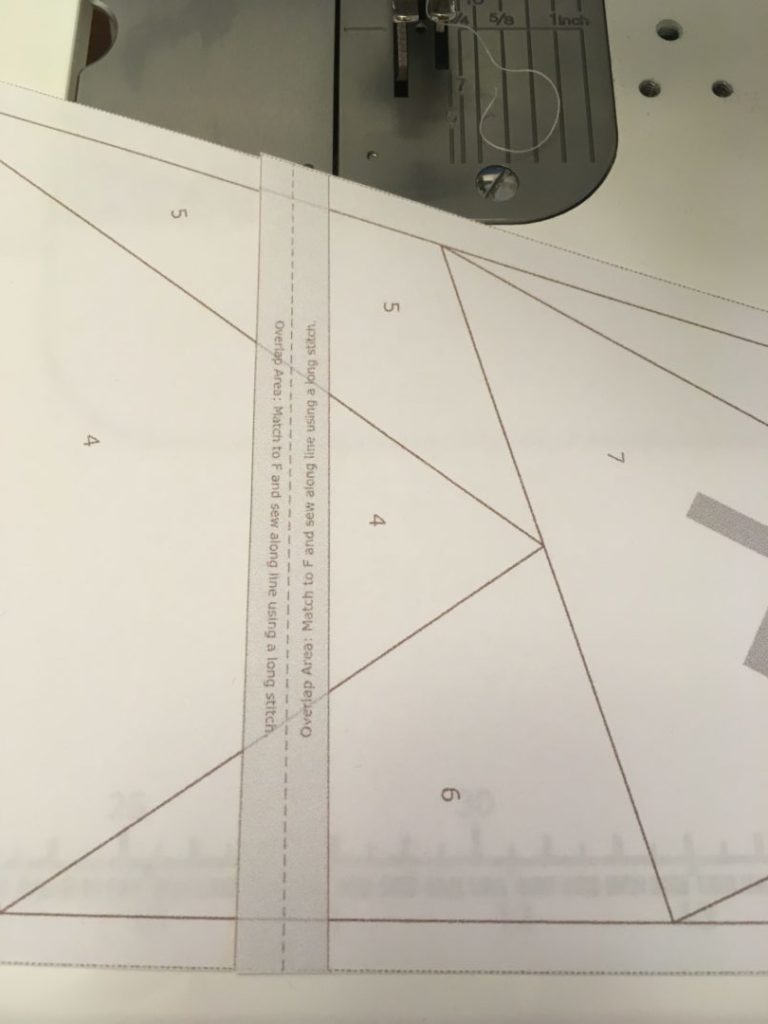
The next step is to actually overlap the pieces. Below you can only see one of the shaded sections. Careful attention has to be paid to make sure that the lines are perfectly aligned.

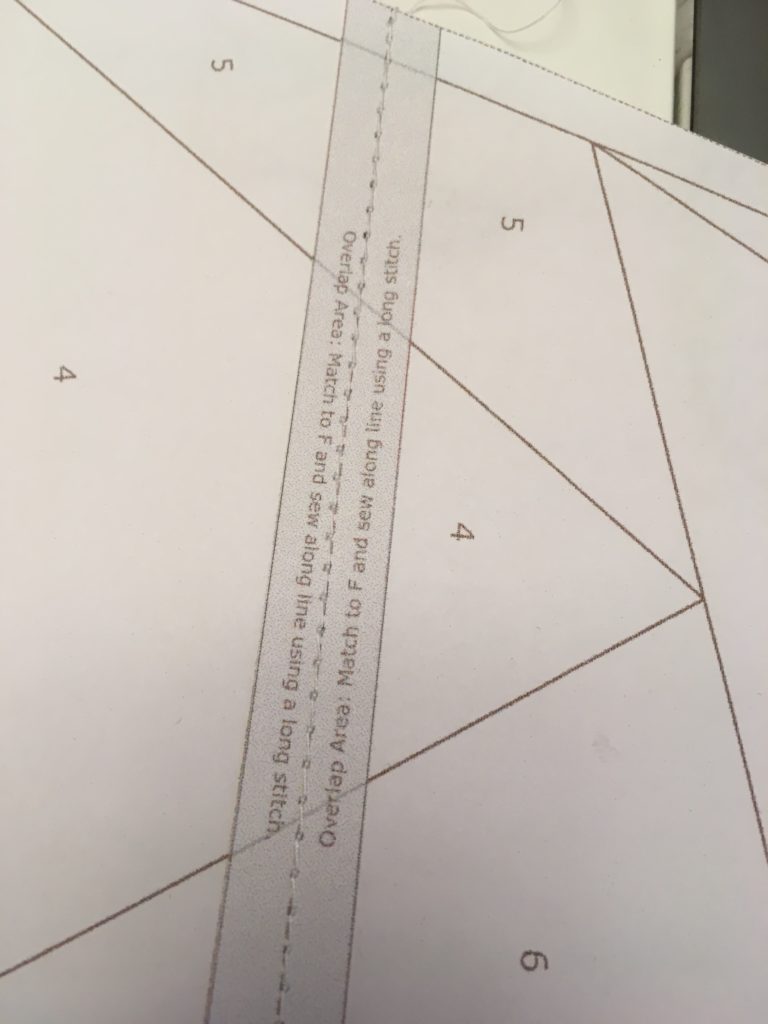
Finally I’m going to set my machine to a longer stitch along the dashed line and sew the pieces of paper together.

Done!
So why sew? Why not use tape? Because sewing through tape and then ripping out foundation papers after the quilt is completed makes the process a nightmare! Sure some can probably get it to work, but sewing is so incredibly simple and fast. Before ripping out papers just seam rip a few of the stitches and they’ll pull right out with the paper.
Next time you find yourself in need of larger foundation papers, give this method a try!
Stay tuned for updates on this quilt!
Happy quilting! ~Jessica